
Over at ThemingWP, we wanted to introduce a new taxonomy – brands. A taxonomy dedicated to theme vendors like StudioPress and WooThemes.
Brands would become the third taxonomy, next to the default categories and tags.
The names of the vendors were already in the database – as tags.
This means we had to extract the vendor names from the tags, and transfer these to the new brands taxonomy.
And last but not least, we had to update the .htacces file. Otherwise a query, or a link, to a vendor tag would lead tot a 404 – page not found.
In this post, we are going to create a custom taxonomy in WordPress, followed by two steps to finalize the project neatly.
We are going to:
- create a custom taxonomy
- move existing taxonomy terms to the new taxonomy
- update the .htaccess file
The original situation
At ThemingWP we were using 7 categories, and 51 tags.
The categories are pretty straightforward: App Themes, Blogging Themes, Business Themes, E-commerce Themes, Magazine Themes, Portfolio Themes, and Theming.
The last category catches everything that does not fit in one of the other six categories. In fact, the Theming category is the original Uncategorized. I just renamed it, making Theming the default category with ThemingWP.
The tags can be divided in three groups: theme features, theme vendors, and miscellaneous. The latter include tags like Child Theme, Mobile and Tools. All miscellaneous tags are related to the Theming category.
With 36 terms, the theme features are the biggest and the most important group of tags. Examples in this league are Genesis, Photography, and WooCommerce.
The remaining 15 tags are used for the theme vendors. Shops like Organic Themes, StudioPress, and Themify.
These vendor terms are scheduled to become members of the brands taxonomy.
Create a custom taxonomy
The Function Reference/register taxonomy page of the WordPress codex provides everything you need to know to create a custom taxonomy. With examples.
WordPress distinguishes two types of taxonomies:
- hierarchiecal
- non-hierarchiecal
Hierarchical taxonomies allow you to create parent/child relationships. WordPress categories are an example of a hierarchical taxonomy.
Non-hierarchical taxonomies are less structured and flat. It is not possible to definte relationships between terms of a non-hierarchical taxonomy. WordPress tags are non-hierarchical.
For the brands taxonomy, I decided to opt for the hierarchical version, because it is more flexibile. For instance, it would allow me to distinguish themes created by StudioPress from StudioPress Third Party Themes.
Here is the code to create the hierarchical brands taxonomy:
// Hook into the init action, and call create_brands_taxonomy when it fires

add_action( 'init', 'create_brands_taxonomy', 0 );

function create_brands_taxonomy() {
    $labels = array(
        'name' => _x( 'Brands', 'brands' ),
        'singular_name' => __( 'Brand' ),
        'menu_name' => __( 'Brands' ),
        'all_items' => __( 'All Brands' ),
        'edit_item' => __( 'Edit Brand' ),
        'view_item' => __( 'View Brand' ),
        'update_item' => __( 'Update Brand' ),
        'add_new_item' => __( 'Add New Brand' ),
        'new_item_name' => __( 'New Brand Name' ),
        'parent_item' => null,
        'parent_item_colon' => null,
        'search_items' =>  __( 'Search Brands' ),
        'popular_items' => __( 'Popular Brands'  ),
        'separate_items_with_commas' => null,
        'add_or_remove_items' => __( 'Add or remove brands' ),
        'choose_from_most_used' => __( 'Choose from most used brands' ),
        'not_found' => __('No entries found.' ),
    );

// Register the taxonomy

$args = array(
    'labels' => $labels,
    'public' => true,
    'show_ui' => true,
    'show_in_menu' => true,
    'show_in_nav_menus' => true,
    'show_tagcloud' => true,
    'show_in_quick_edit' => true,
    'show_admin_column' => true,
    'description' => 'A taxonomy dedicated to theme vendors',
    'hierarchical' => true,
    'update_count_callback' => '_update_post_term_count',
    'query_var' => true,
    'rewrite' => array( 'slug' => 'brand' ),
    'show_in_rest' => true,
);

register_taxonomy( 'brands', array('post'), $args );
}
A crucial key/value pair in this code is 'hierarchical' => true. The value true generates a hierarchical taxnomy, and false a non-hierarchical one.
Not all key/value pairs above are required, but I tend to follow the templates as suggested by the codex.
How do we know we succeeded? We did not encounter an error, or a white screen of death. Which is promising. But did we actually create the brands taxonomy?
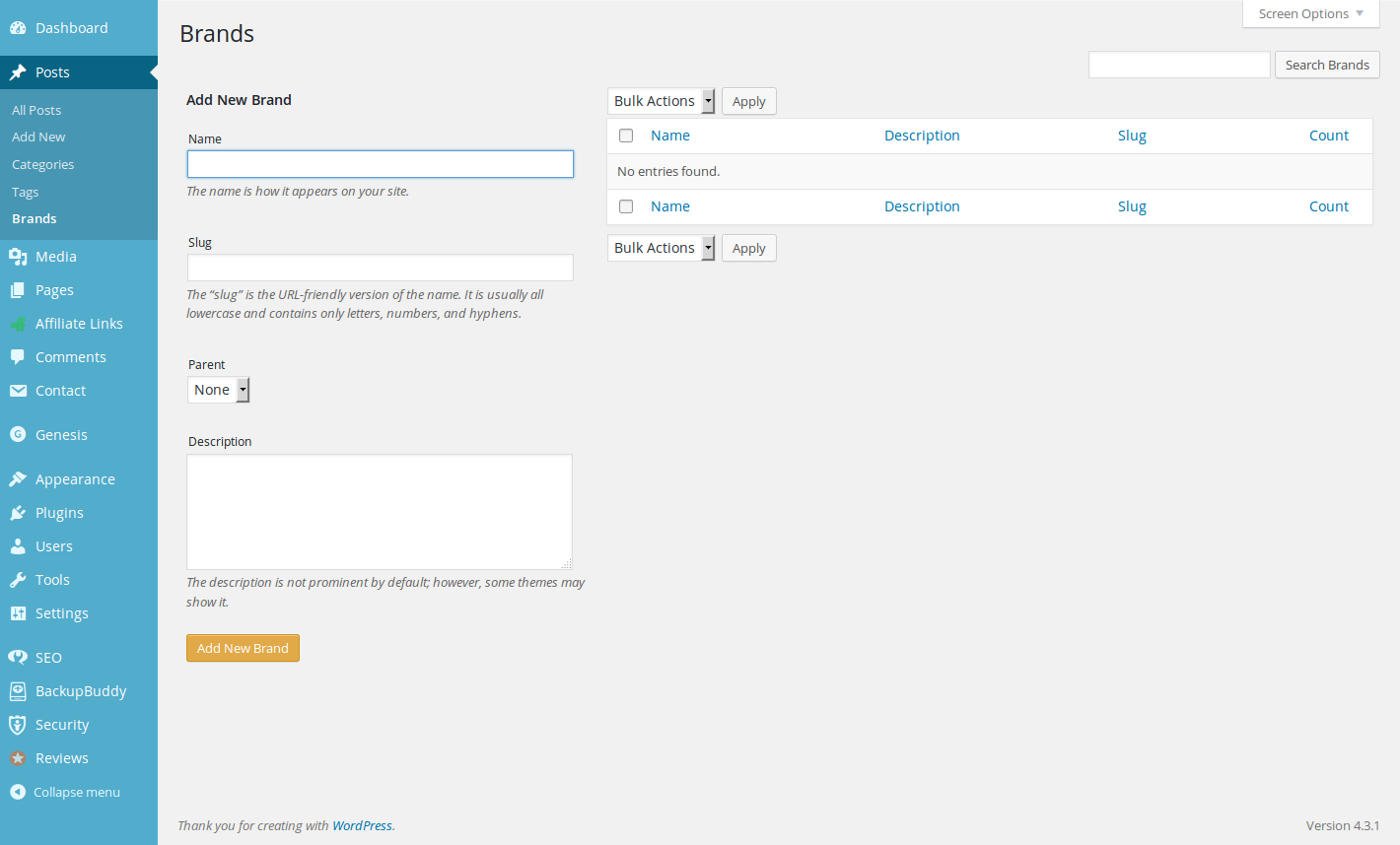
The first piece of evidence is found in the Brands UI, added to the Posts panel:
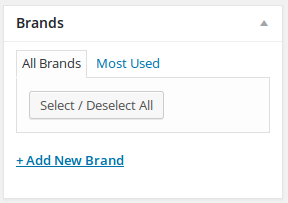 More proof is available in the Add/Edit posts screen. A Brands meta box has appeared, next to the post editor. We are making progress.
When you are following along, make sure you resave the permalinks before continuing. Go to Settings >> Permalinks, switch to Default, save, switch back to ‘Postname’, or whatever your permalink setting was, and save again.
You can also create taxonomies with the Simple Taxonomy plugin. But this plugin was last updated over three years ago. You better stay away from this one.
Fortunately, there is an alternate tool available in the cloud – GenerateWP.
Move existing tags to the new taxonomy
Now that we have a dedicated brands taxonomy, we need to move the theme vendors from tags to brands.
The more posts you have, the more time you will have to devote to this exercise. At least when you are planning to do it manually. But that is not necessary.
There is a plugin for that too. And that plugin is the Taxonomy Switcher.

The Taxonomy Switcher adds a page to the WordPress Tools panel. A page with only four fields.
First you select the from and to taxonomies. Here we are moving from tags to brands.
The next step is entering the IDs of the taxonomies that we want to migrate.
Field #4, limiting the number of child terms to transfer, is optional. And not required for our ThemingWP project.
Hit the [Switch Taxonomies] button, and you are done.
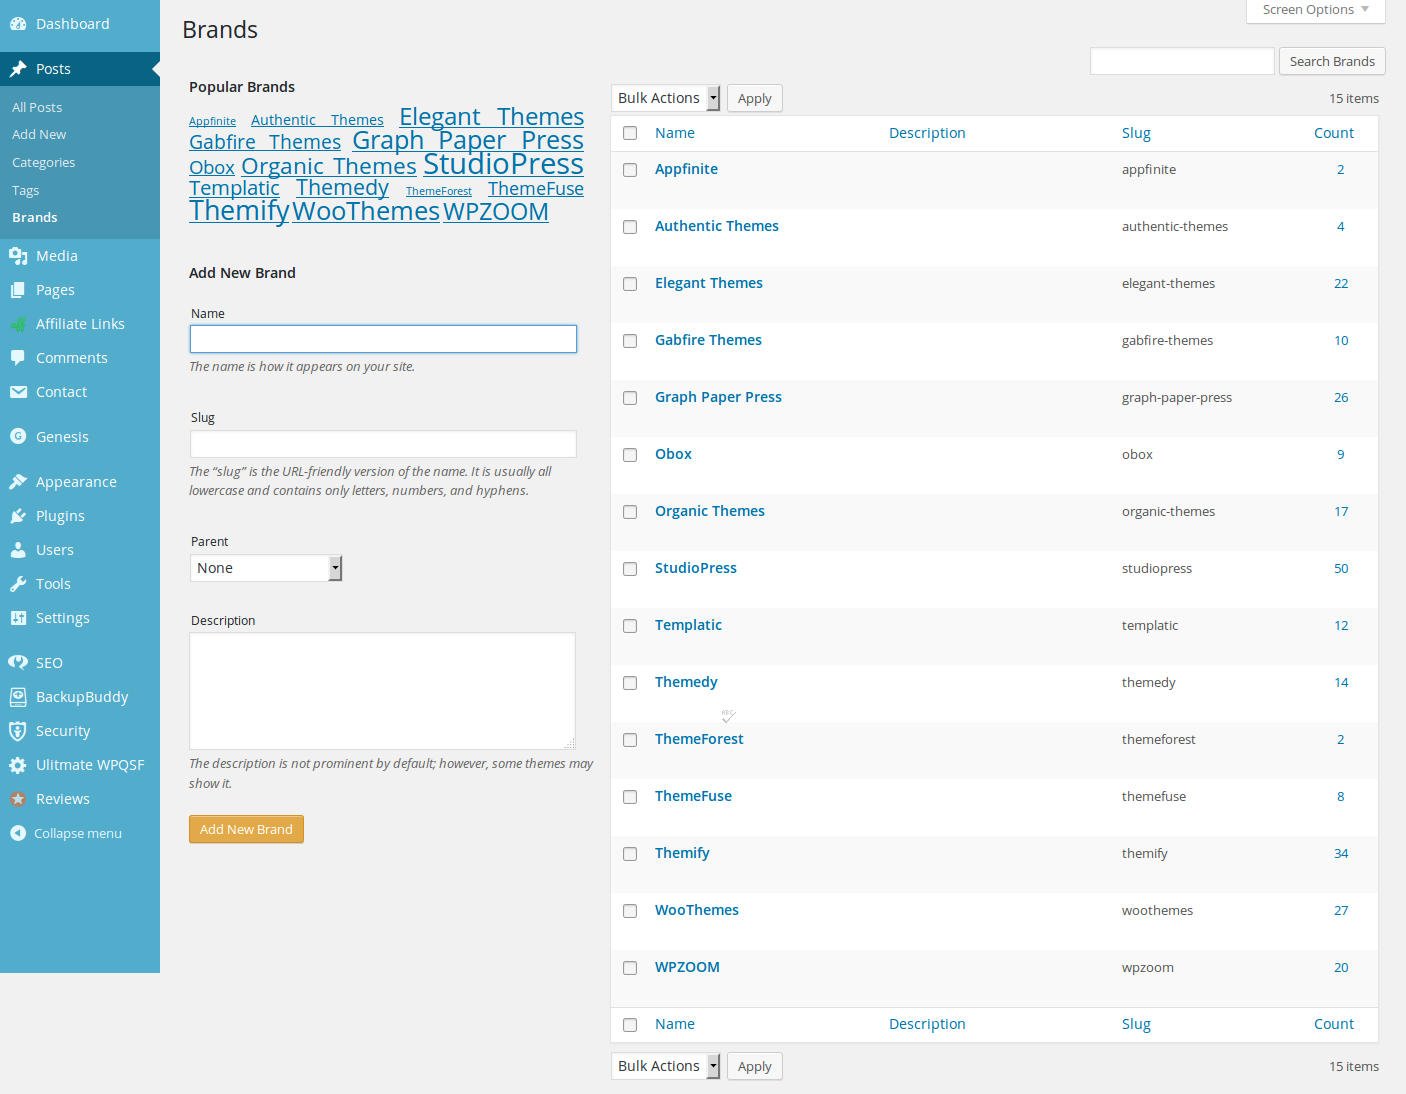
Visiting the brands page, we see indeed 15 vendor terms. Terms which are no longer listed with the tags. Mission accomplished.
The Taxonomy Switcher plugin is no longer needed, so we delete it.
Update the .htaccess file
We have completed our task, but there is still some housekeeping to do.
Now that we moved the vendors from tags to brands, a query or a link with the original tag will lead to a 404 – page not found. Search engines do not like 404s. And humnas stumbling into one even less.
We can solve this by adding 303 redirects to the .htacces file in the WordPress root.
Fire up an FTP-client like FileZilla, or login to the control panel of you host, and open the .htaccess. Add the necessary redirects to the bottom of the file.
Here is the example from our ThemingWP case:
Redirect 301 /tag/appfinite/ /brand/appfinite/
Redirect 301 /tag/authenticthemes/ /brand/authentic-themes/
Redirect 301 /tag/elegantthemes/ /brand/elegant-themes/
Redirect 301 /tag/gabfire /brand/gabfire-themes/
Redirect 301 /tag/graphpaperpress/ /brand/graph-paper-press/
Redirect 301 /tag/obox /brand//obox/
Redirect 301 /tag/organicthemes/ /brand//organic-themes/
Redirect 301 /tag/studiopress /brand/studiopress/
Redirect 301 /tag/templatic /brand/templatic/
Redirect 301 /tag/themedy /brand/themedy/
Redirect 301 /tag/themeforest /brand/themeforest/
Redirect 301 /tag/themefuse /brand/themefuse/
Redirect 301 /tag/themify /brand/themify/
Redirect 301 /tag/woothemes /brand/woothemes/
Redirect 301 /tag/wpzoom /brand/wpzoom/
Save, and you are done.
Wrap up
Now we are really done adding the custom taxonomy. The vendor terms are transferred, and old links presented to visitors by search engines, or saved as bookmarks, are diverted to the new taxonomy links.
Leave a Reply